Recycled Power
This post is an article I submitted to the Hamgram, my local Winona Amateur Radio Club newsletter. It is meant as a brief overview on re-using Li-Ion and LiFePo4 cells, and is not an in-depth technical article.
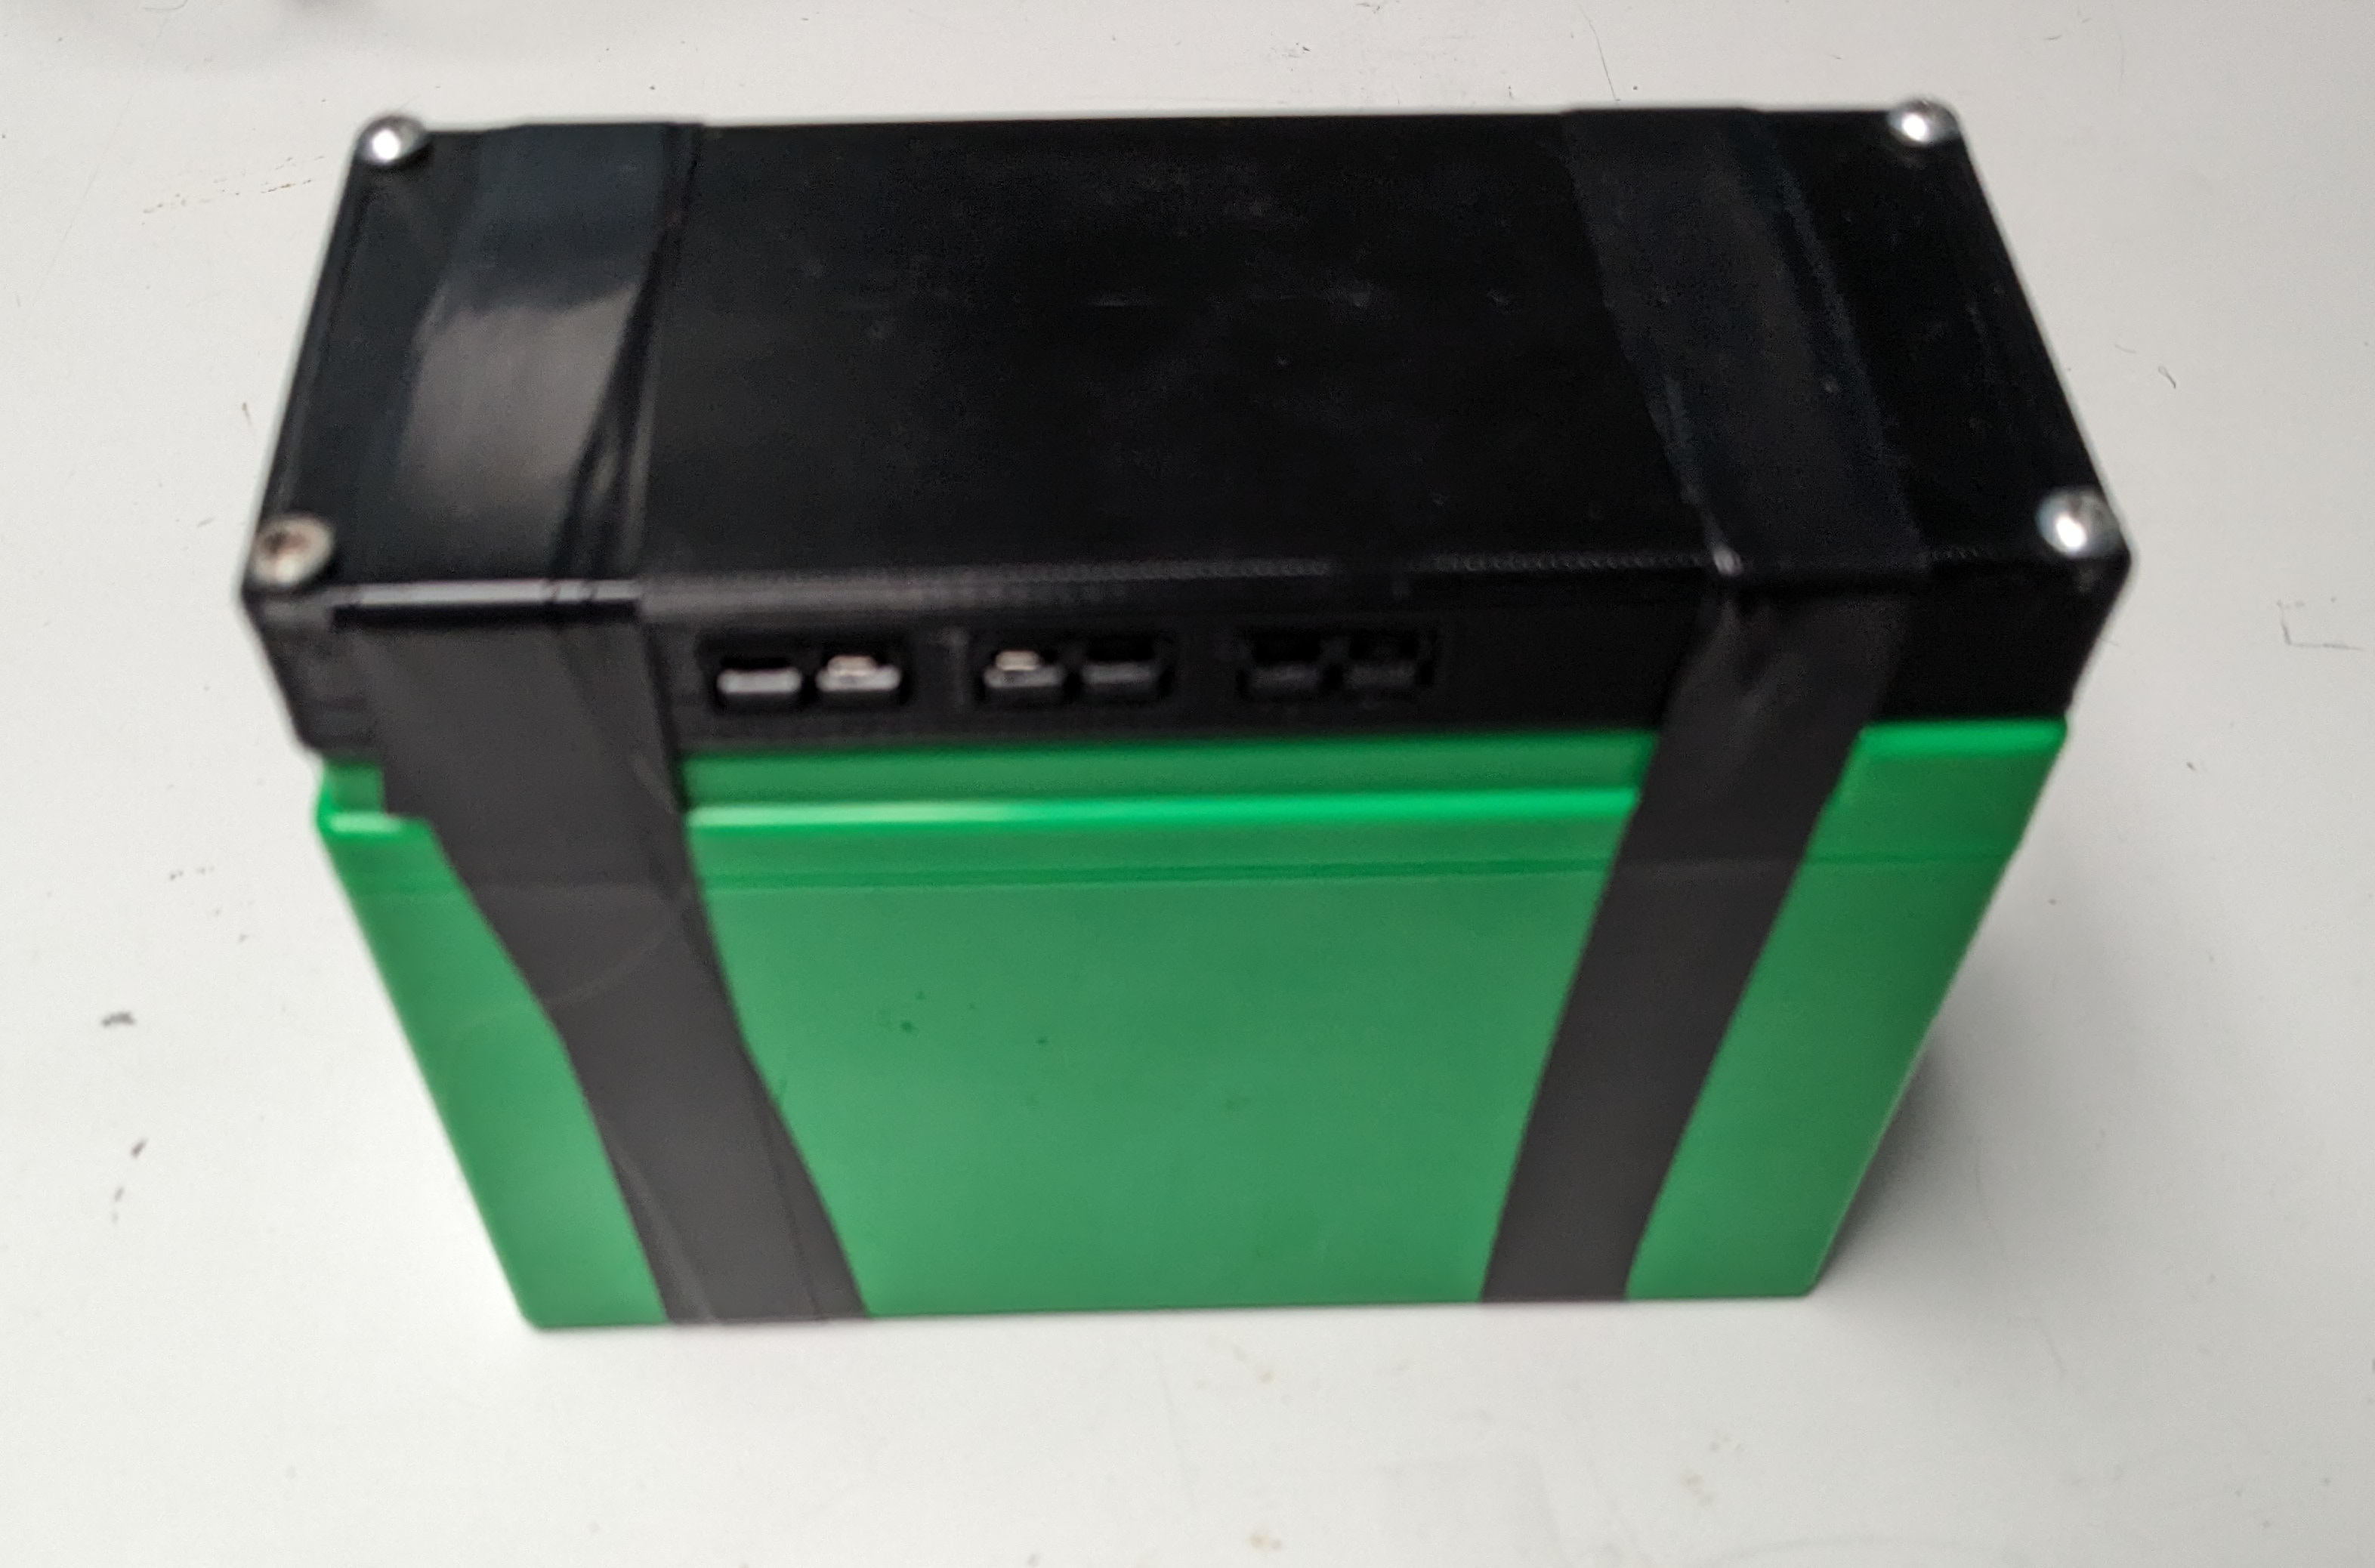
Li-Ion and LiFePo4 batteries have many advantages in weight and power density over traditional lead-acid batteries. For example, I have assembled several 7S3P (21 cells total, with 3 series-wired banks of 7 cells in parallel) that fit in the same space as a typical 8AH SLAB battery, but provide 25AH of energy storage. Lithium batteries can be used for emergency power in your shack, to upgrade an HT battery with a 3d-printed enclosure, as a rechargeable replacement for a memory battery in a TNC or radio, or as a power source for homebrew equipment like automatic antenna tuners. Lithium batteries do have some disadvantages in voltage range and safety that need to be addressed in order to make use of them in a ham shack.

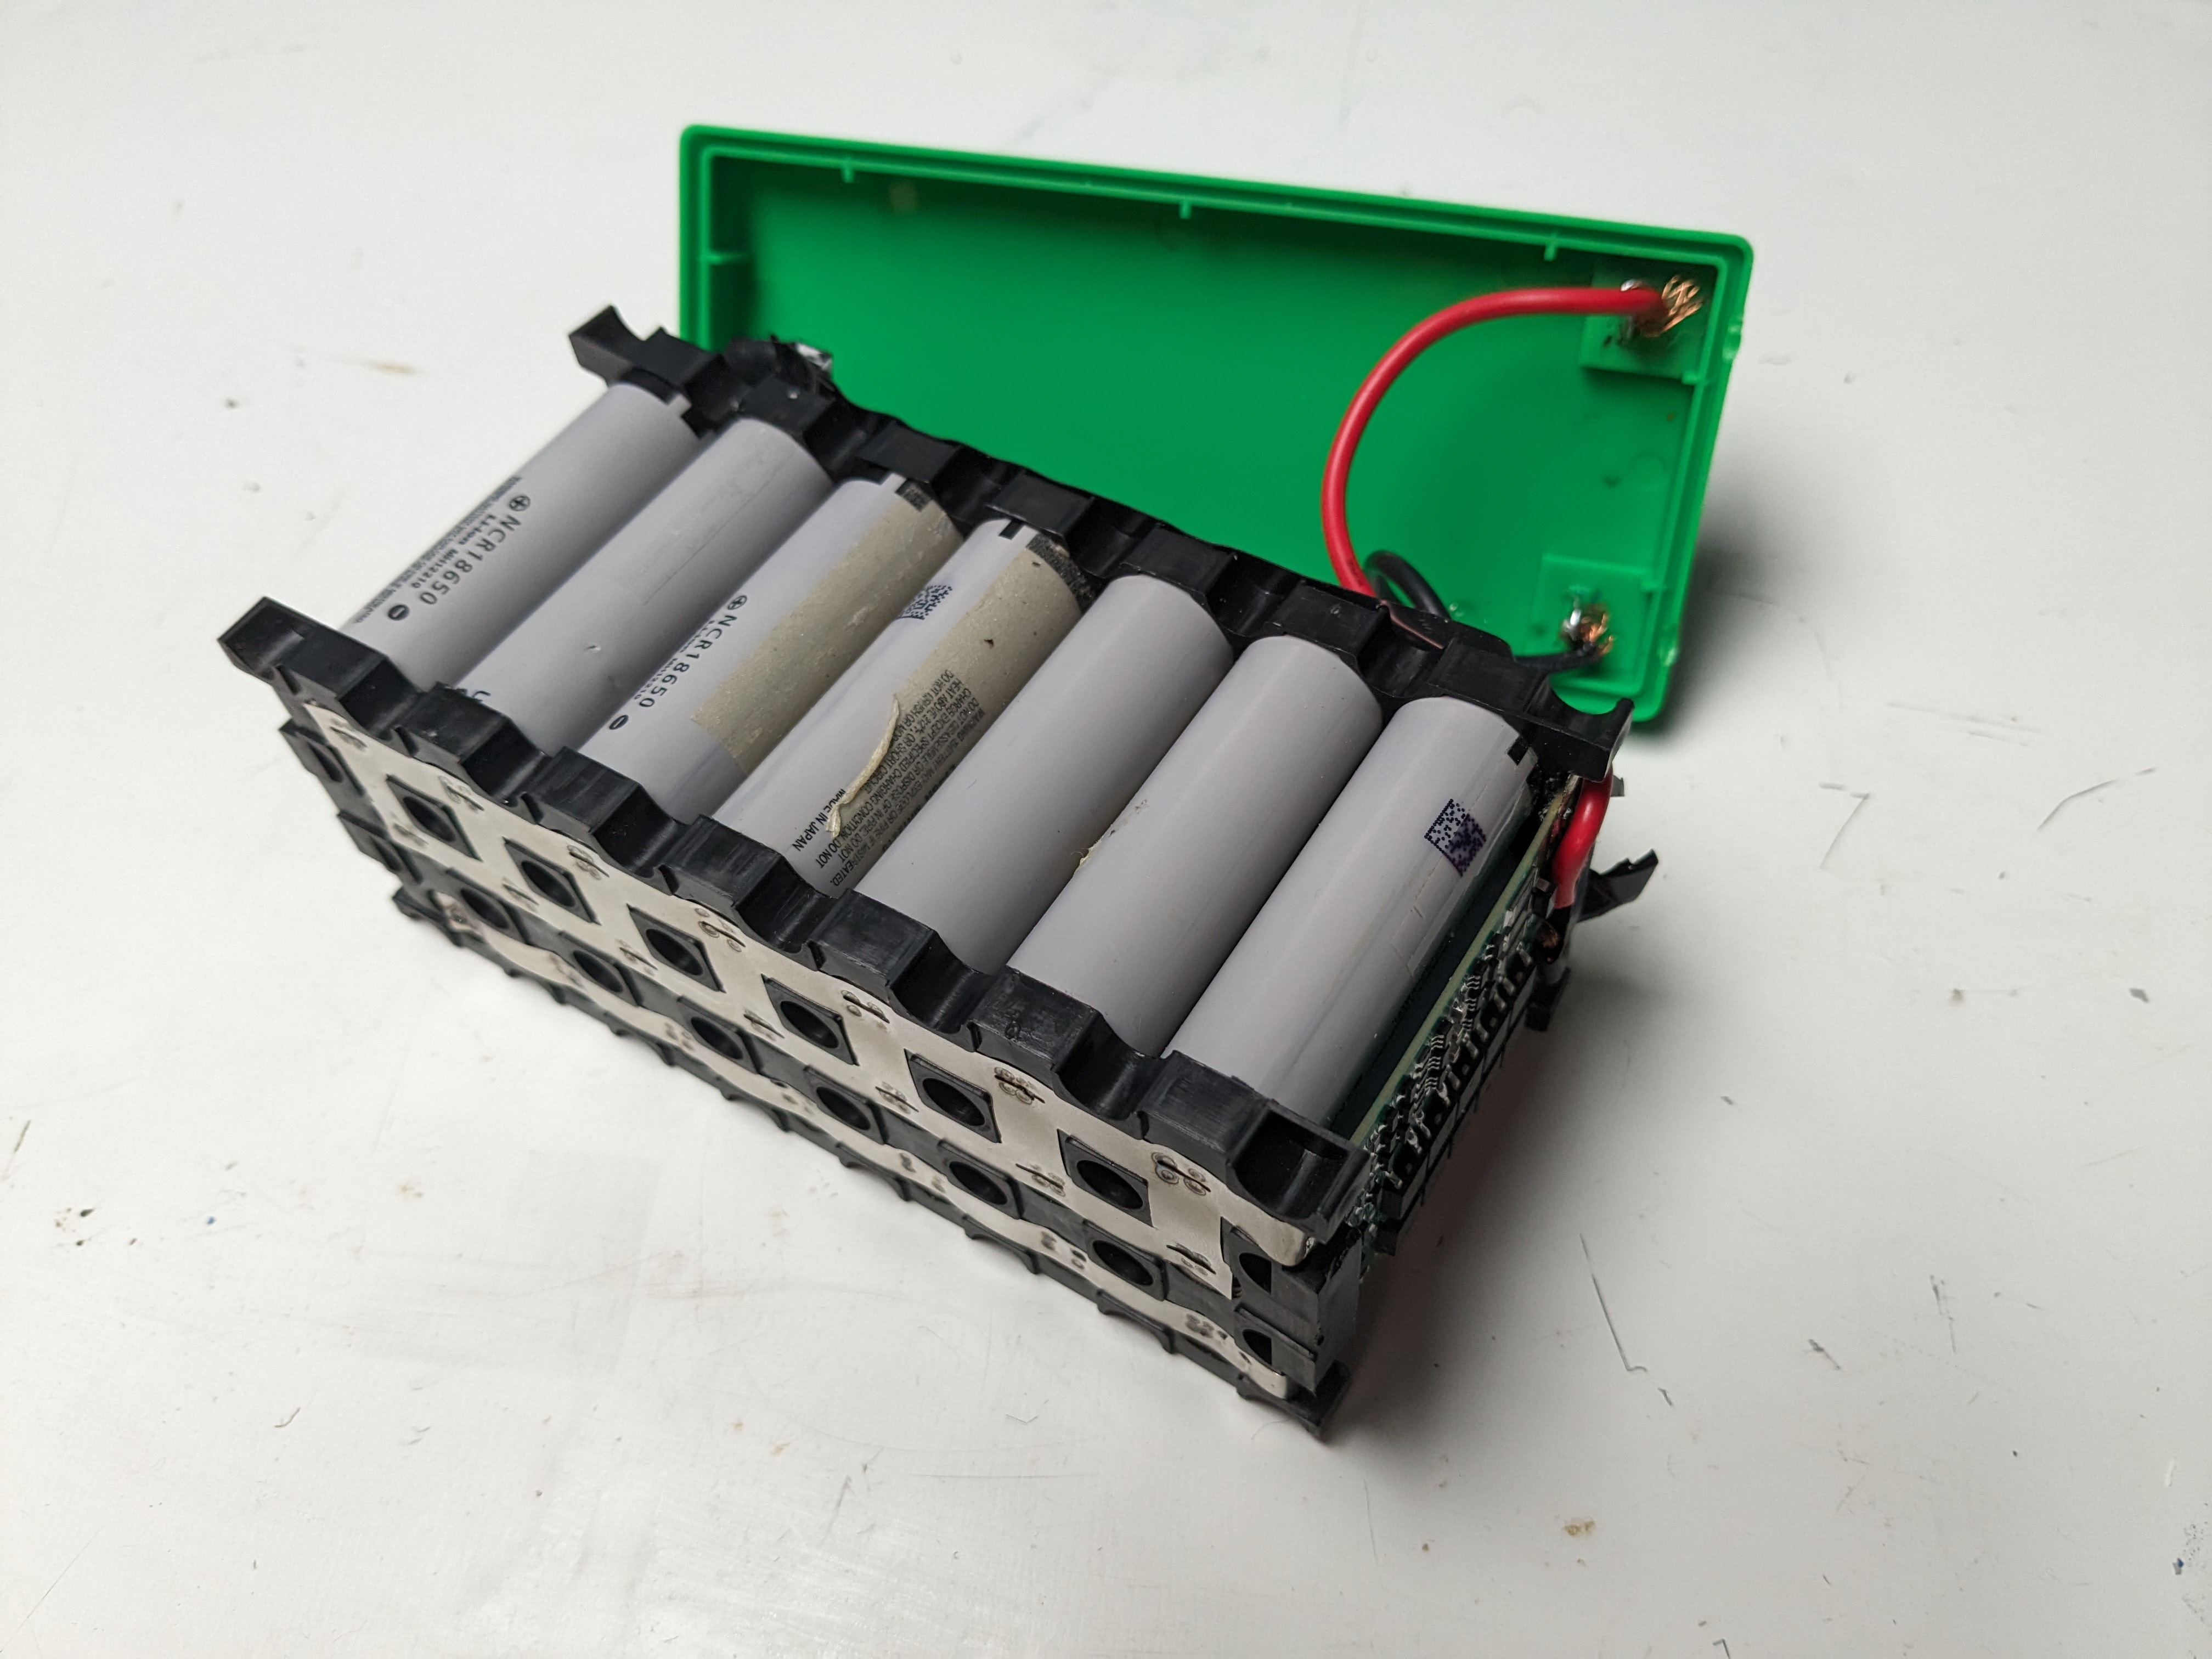
My collection of Li-Ion cells were salvaged from an e-waste dumpster in the form of lightly-used laptop batteries. These batteries, when “shucked” or opened up, contain 6 18650 sized Li-Ion cells with a nominal voltage of 3.7 volts in a 3 series, 2 parallel configuration. At last count, I have around 150 packs to be shucked. The LiFePo4 cells I have collected are packs made up of 3.2v nominal 26650-sized cells that were wired for 48v or 72v for use in uninterruptible power supply systems.
Both types of cells can be rearranged and re-wired to be useful in a ham shack. The LifePo4 cells are the easiest to use for standard 13.8v equipment, because when wired in a 4 series configuration their voltage range approximates that of a standard 12v lead acid battery. Commercial LiFePo4 batteries wired this way are available to the ham, marine, and automotive markets from vendors like Bioenno. Li-Ion cells, on the other hand, provide more energy density than LiFePo4, but are more of a challenge to get voltages correct. Fully charged, each cell provides 4.2v and they are safely depleted at about 2v. If you are quick with math, you may have noticed that in a 4P configuration the max voltage is 16.8v which is more than most transceivers are happy with. 3 cells in series are okay when fully charged at 12.6v, but fully depleted a 3S pack will be all the way down to 6v which is below what is desirable in most cases.

Some portable transceivers, like those made by Xiegu, are designed to safely run from a 4S Li-Ion pack, so if you are using one portable, no additional voltage regulation is needed. If your transceiver wants something a little closer to 13.8 volts there are several options available. One option, documented by Phil Salas AD5X in the April 2015 issue of QST, is to switch several diodes in series with the load when voltage is high, and switch them out when the battery voltage is within the tolerance of the transceiver. See this QST article from April 2015. Another common method is to use an appropriately sized switching voltage regulator to keep the radio happy, although RFI can be an issue with regulators of this type so additional capacitors or ferrites may be needed. I have successfully used a UBEC regulator designed for RC aircraft for loads of less than 5A.
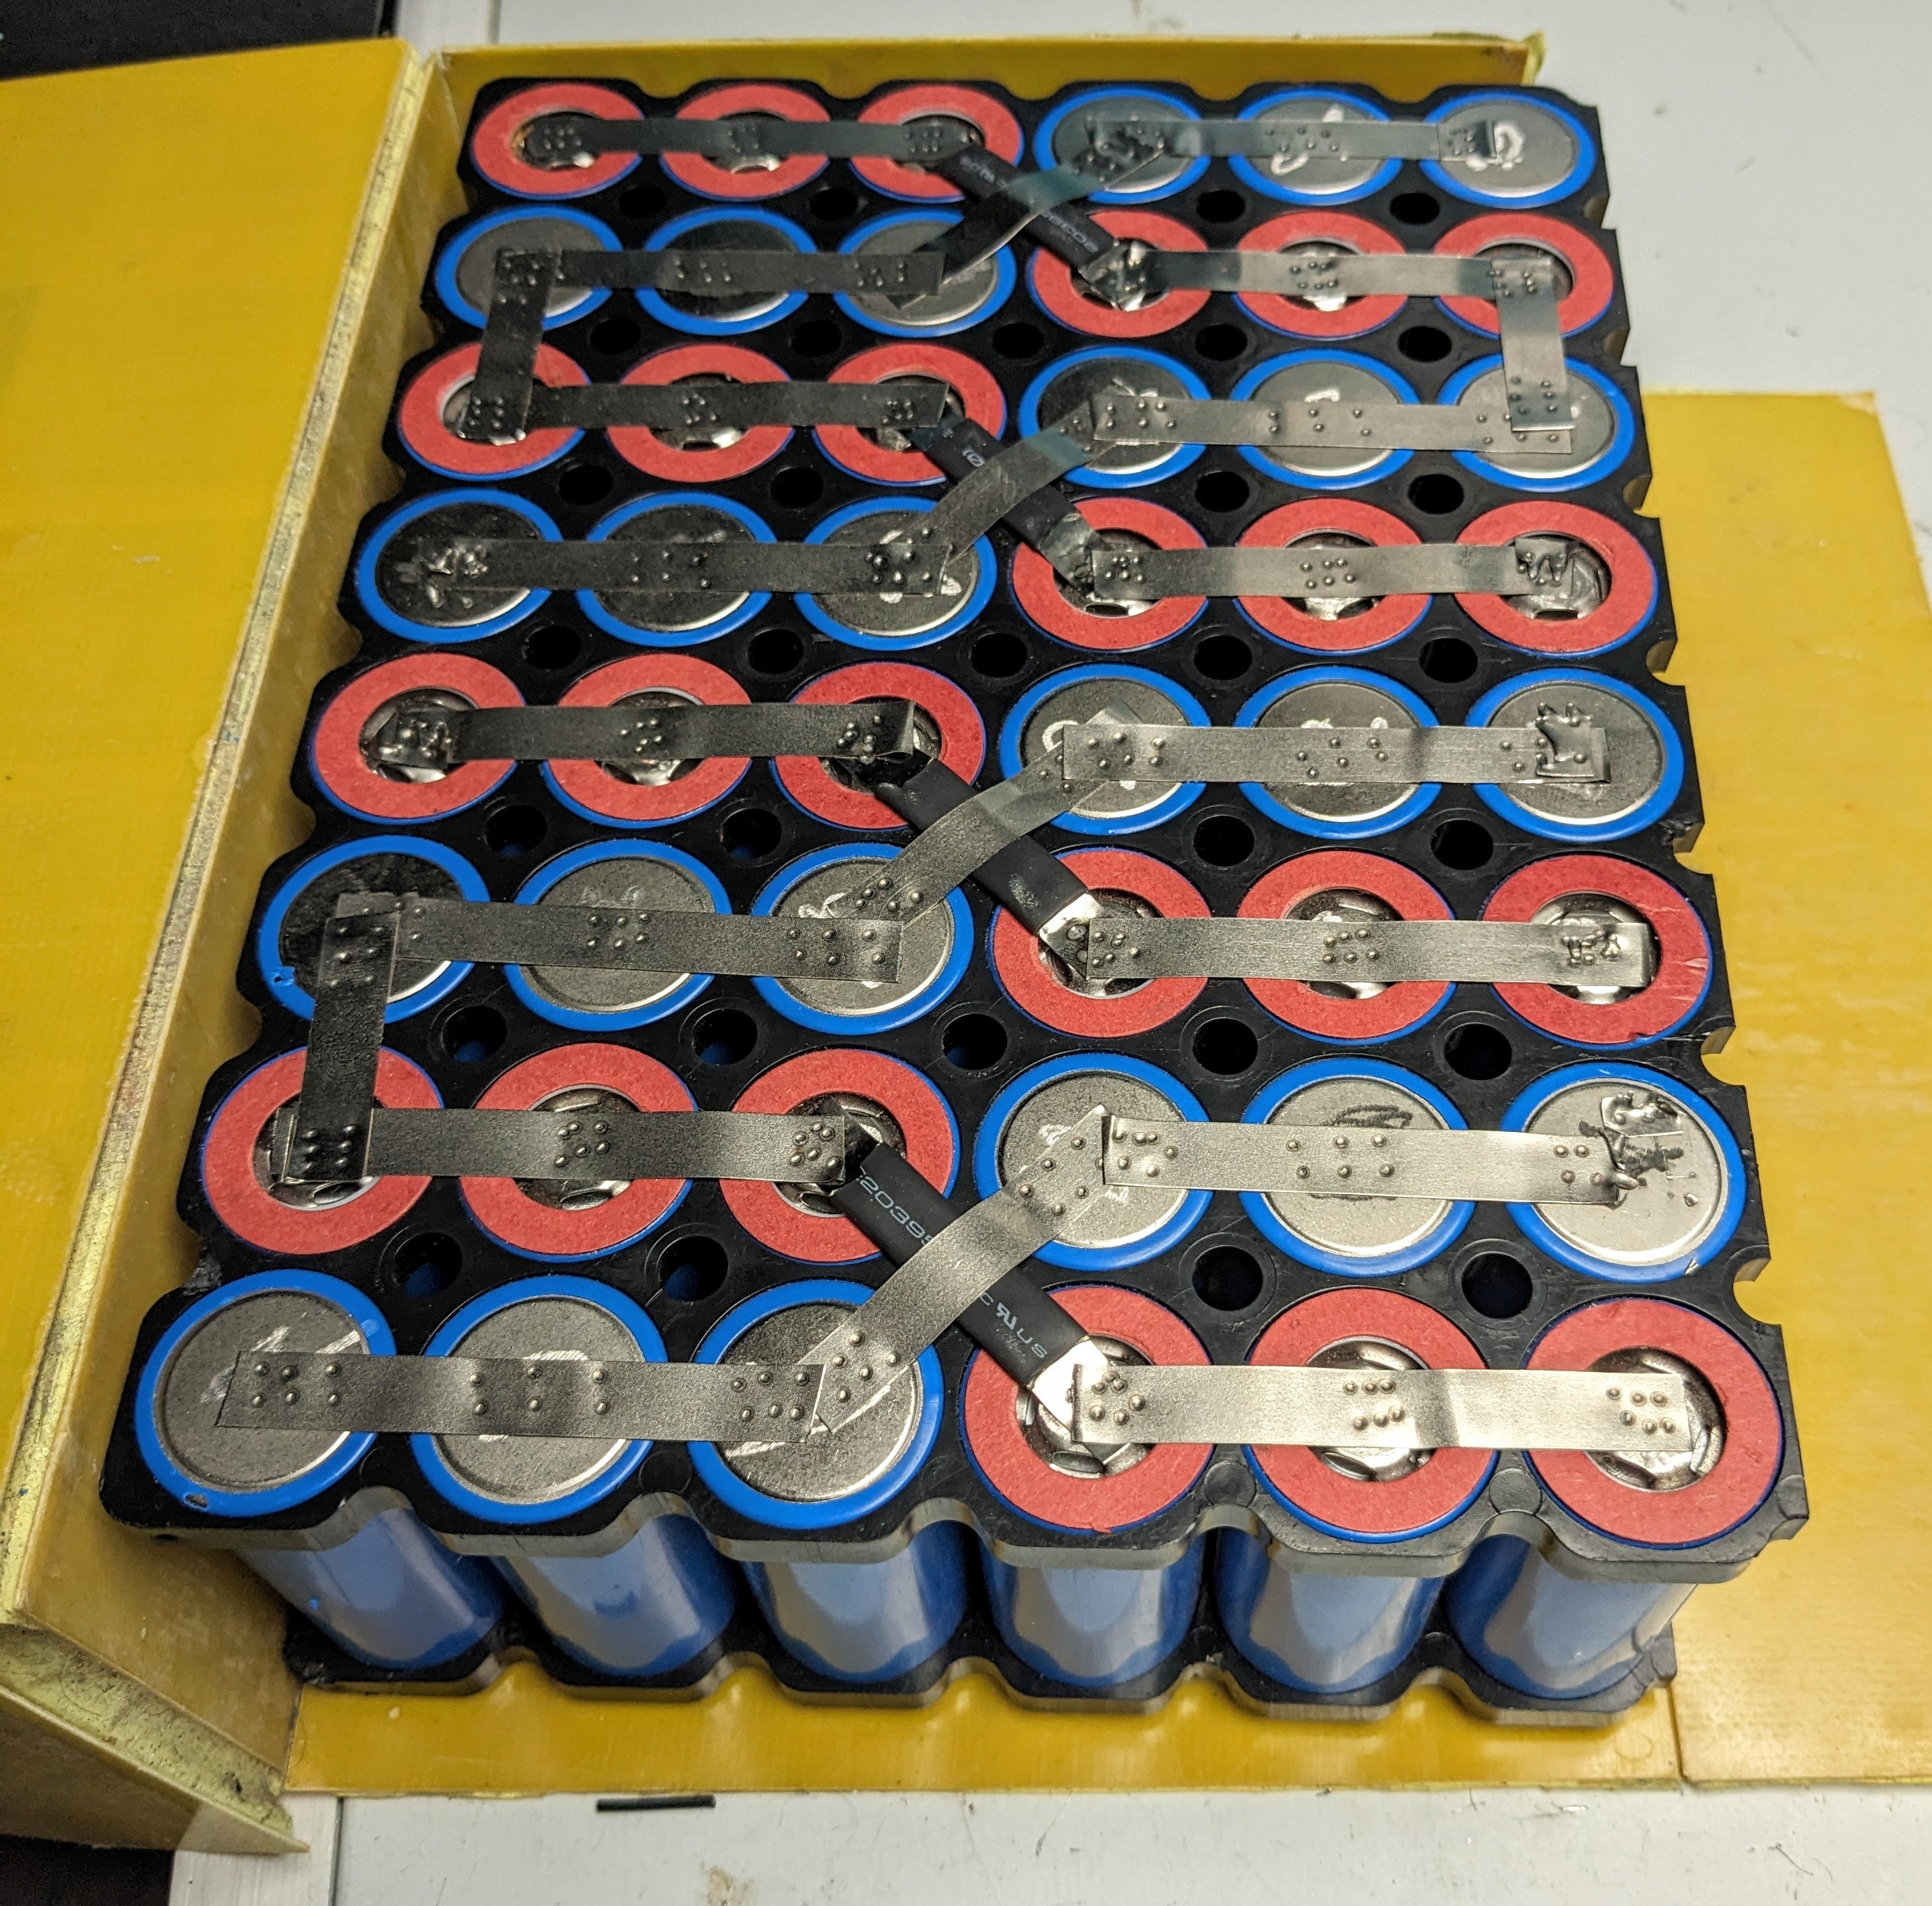
There are three common methods used to build a pack from these cells. The easiest way is to purchase pre-built cell holders from your favorite electronics retailer. The cell holders can be wired together to achieve the configuration you want. Commercial packs are typically built by spot-welding nickel strips to the batteries in the desired configuration. This solution is also viable for homebrewers and makes for a very study pack. There is an initial investment, but for someone who builds lots of packs it eventually pays off since cell holders are no longer needed. Spot welders are sometimes homebrewed using transformers from microwave ovens or car batteries, but recently hobbyist-grade battery spot welders have come on to the market relatively inexpensively. I would suggest staying away from the battery-powered welders in the $30-60 range. After considerable research, and a couple of Amazon returns for welders that did not work as advertised, I settled on a supercapacitor type welder made by SeeSii in the $100 range. After building packs by welding I find it unlikely that I will use cell holders again. The final option is to solder wires directly to the cells. This method is not recommended as the cells absorb considerably more heat this way, and heat damages the cells.

When working with Lithium cells, especially Li-Ion cells, safety is a major concern. In the last 20 years expanding, heating, exploding, or burning lithium-ion batteries have made the news many times. LiFePo4 batteries are much safer when it comes to shorting or overheating, but accidents can still happen. When assembling a rechargeable lithium battery pack of any type, a battery management system (BMS) must be used. The BMS is a circuit that provides many safety functions for the battery. It prevents overcharging (a fire risk), undercharging (damages cells), and cell balancing (keeps each bank of parallel cells at the same voltage). BMSs will also cut off the load if a short is detected to prevent fires, and some have thermal monitoring as well. The BMS is by far the most important part of the battery so care must be taken to choose a quality BMS that is matched to the chemistry of the cells being used. The cost of a BMS varies based on the load it can handle and additional features it can provide. A basic Li-Ion BMS for a 30A load might cost $10-$15, while a BMS for a LiFePo4 pack that rated for 100A with bluetooth and UART (serial) health monitoring, and active cooling may cost $100 or more.
There are many videos on YouTube with the technical specifics for homebrewing Lithium Batteries. If something in writing is more your style, OH8STN also has a blog detailing some homemade packs he built several years ago.